Learn decorative figurine crafting with stone, clay, and finishing methods that look intentional
Creative Sculpture Academy teaches the core workflow behind handcrafted figurines and stone art: shaping, surface preparation, texture, patina, and clean finishing. The course is built for careful learners who want repeatable studio habits, not guesswork.
A practical curriculum that prioritizes tool control, surface prep, and durable finishes—so your pieces hold up to handling and display.

Short demonstrations, clear materials lists, and finishing checklists you can reuse on every piece.
What we teach, and what you will actually practice
Decorative figurine creation looks effortless when you see the finished piece on a shelf. The unglamorous part is everything that happens before the final coat: building a stable armature, controlling moisture, keeping silhouette readable, and preparing surfaces so paint or patina doesn’t telegraph sanding marks. Creative Sculpture Academy is structured around that full workflow. You will learn how to plan a piece with simple design principles (proportion, rhythm, and focal points), then execute it with basic sculpting techniques such as blocking-in, refining planes, and preserving sharp edges while smoothing transitions.
Stone crafting is treated with the same respect. Instead of vague “polish it more” advice, the course breaks down grit progression, dust control, sealing, and how to read the surface under raking light. Finishing methods are a dedicated module: priming, underpainting, glazing, dry brushing, and weathering that still looks clean. You will also practice repair and touch-up—patching chips, re-leveling a glossy coat, and matching color when a piece needs rework. The goal is methodical repetition: a process you can repeat on different materials without starting from zero each time.
Foundations of sculpting
Learn blocking-in, proportional checkpoints, and clean transitions between forms. You will practice controlling edges, undercuts, and surface compression so details stay crisp after priming and paint.
- Silhouette planning and readable shapes
- Tool angles that reduce chatter marks
- Safe curing and handling habits
Stone crafting basics
Work through grit progression, dust control, and surface reading. Learn when to sand, when to burnish, and how to avoid sealing defects.
Finishing and patina
Build durable finishes using primers, glazes, washes, and sealing. Learn how to keep texture visible while controlling shine and wear.
Creative design principles
Learn to design with intention: hierarchy, repetition, negative space, and focal points. You will use simple thumbnail sketches and value checks to avoid “busy” surfaces and muddy color.
Repeatable workflow
Use a consistent sequence: prep, shape, refine, prime, finish, seal, and quality-check under controlled light.
Material safety basics
Learn ventilation, dust handling, glove selection, and curing areas—plus how to store sealers and pigments responsibly.
How it works: from concept to finished surface
The course is built like a studio routine. Each step is designed to reduce rework by catching problems early—before paint and sealer make them harder to fix. You will see the same checkpoints repeated across figurines and stone pieces, which is the fastest way to build confident hands. Expect practical terms and clear definitions: where to place a parting line, how to avoid over-sanding, and why surface “tooth” matters for adhesion.
Start with a thumbnail sketch and a short materials list. You will define silhouette, focal point, and finish intent (matte stone, satin glaze, metallic wax, or layered patina).
Block-in main volumes, then refine planes and transitions. You will practice edge cleanup and surface compression so the form stays readable after priming.
Sand with intention, progress through grits, and check under raking light. You will learn how to keep texture while removing tool chatter and pinholes.
Apply primers, glazes, washes, and protective coats. You will learn dry times, compatibility checks, and how to fix common finish defects without stripping everything back.
A checklist-driven approach
Every module ends with a short quality checklist: adhesion test points, sheen consistency, edge integrity, and handling-safe cure times. You can reuse the same list on new projects to keep progress steady.
Small iterations, fewer do-overs
You will learn to spot problems early: muddy values, unplanned shine, and sanding scratches that will show through. The course favors short, controlled passes over “big fixes” at the end.
Social proof and outcomes: what learners tend to notice first
Creative craft education is hard to summarize with a single metric. Instead, we focus on outcomes that show up on the workbench: cleaner edges, more stable bases, and finishes that look deliberate under bright light. The examples below are representative of the kinds of improvements learners report after applying the same workflow across multiple pieces.
“The first improvement was surface prep. I used to rush sanding and then wonder why the primer looked gritty. The course made me slow down with grit progression and raking light checks. My last two figurines have consistent sheen and the edges stayed sharp after sealing.”
“I liked the design checkpoints. The thumbnail planning and value checks stopped me from adding random details. Now I can choose one focal point and support it with texture and patina instead of covering everything with paint. My stone piece finally looks intentional under daylight.”
Mini case study: figurine finishing workflow
Problem: repeated “chalky” primer texture and uneven shine after sealing. Approach: consistent grit progression, dust removal between passes, and a controlled test swatch for sealer compatibility. Outcome: smoother primer layer and a predictable satin finish without cloudy patches.
Based on learner notes and internal workshop feedback. Individual outcomes vary by materials and drying conditions.
Mini case study: stone surface reading
Problem: sanding scratches showing through wax and highlights. Approach: raking light inspection, deliberate grit steps, and burnishing only after scratch pattern is uniform. Outcome: cleaner reflections, improved contrast in patina, and less “hazy” top coat.
A single change—checking the scratch pattern under raking light—often prevents hours of rework after finishing.
“The safety notes were practical. I reorganized my sanding setup with a simple dust routine and labeled storage. It made the workshop calmer and I can actually keep track of drying times and coats instead of guessing.”
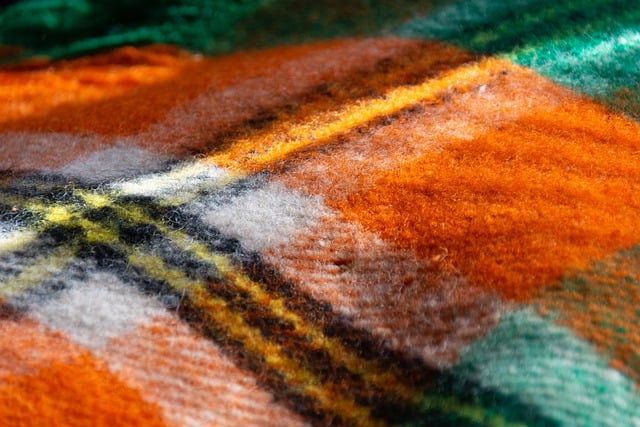
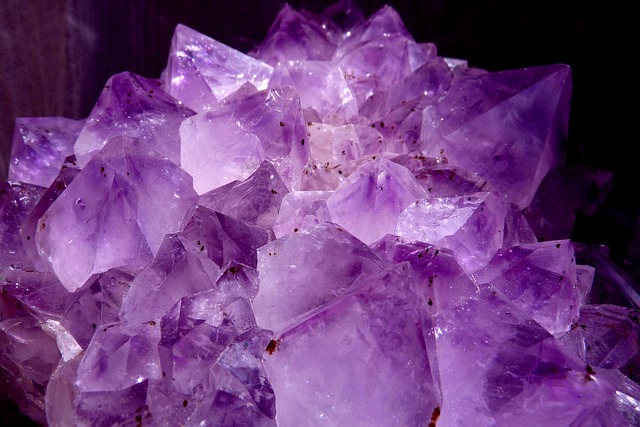
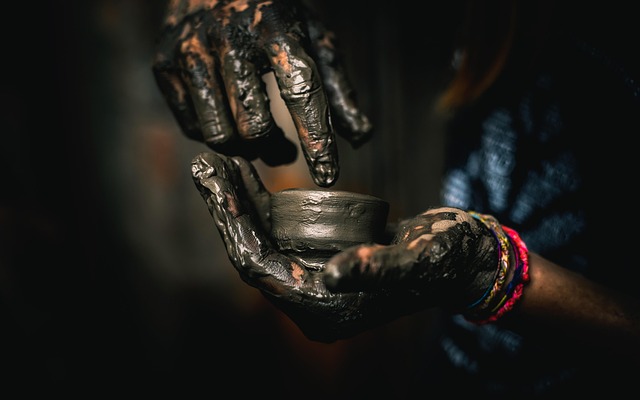
Studio imagery that matches the course focus
The craft is visual: texture, sheen, edge quality, and intentional wear. That is why we use clear studio imagery—handcrafted figurines, stone art surfaces, tools laid out for a finishing pass, and workshop lighting setups. These references are used to show the actual checkpoints you will apply: how raking light reveals scratches, how primer changes surface texture, and why sealing order matters when using waxes and glazes.
If you prefer learning by watching and then repeating the step, you will feel at home here. Each concept is connected to a bench-level habit: label your mixes, keep a curing area, test compatibility on a swatch, and document your finish layers. The goal is calm repetition, not frantic improvisation.
Frequently asked questions
These answers are written to be practical. If you need a specific recommendation for your materials, include details in the registration form and we will reply with a clear next step.
Do I need prior sculpting experience?
No. The course starts with blocking-in and simple form control. If you have experience, the finishing and surface preparation modules usually add the most value because they systematize adhesion, sheen control, and defect repair.
What materials are covered?
We cover decorative figurine materials (common sculpting clays and fillers) and stone surface workflows (sanding, burnishing, sealing). The key is learning the sequence and compatibility checks, so you can adapt the steps to your preferred products.
Is this a professional certification?
No. Creative Sculpture Academy provides educational content and practical technique training. It does not issue a professional certification and does not replace formal vocational or academic qualifications.
How long does it take to see improvement?
Many learners notice progress within a couple of practice sessions once they adopt a consistent checklist: surface reading under raking light, grit progression, and controlled finishing passes. The largest gains tend to come from repeating the same workflow on several pieces.
What data do you collect in the registration form?
We collect your name, email address, and your learning goals so we can respond appropriately and tailor course guidance. We do not ask for phone numbers on the registration form. See our Privacy Policy for details on retention and your rights.
Can I manage cookie preferences later?
Yes. Use the “Manage cookie preferences” link in the footer to update your choices. Analytics and marketing cookies are disabled until you opt in through the consent banner or preferences panel.
Registration form
Share your learning goals and we will reply with the next steps, including recommended starting modules and a simple materials checklist. We use your message to respond; we do not sell your data.
Disclaimer
Educational content only. Creative Sculpture Academy does not provide professional certification, and nothing on this site should be considered legal, financial, or business advice.
Read Terms of Service